
User Flows in Sketch — Step by Step Guide to Create Them Quickly
Sketch is a powerful tool to create digital products. You may be surprised but it is also ideal to prepare some other UX deliverables.
If you are familiar with User Flows, you surely know that they are useful when it comes to present app concept to your team or clients.
However, when you would like to create this type of the deliverable you probably think that it is a time-consuming process. This story shows how to prepare rich and elegantly styled User Flows in a few minutes.
Note: This article contains tips for creating flows with SQUID — UI Flow Template. However, even if you would not use the template — lots of tips will remain relevant.
What is more if you will be interested in getting SQUID, at the end of the Story you will find two ways to get promo offer codes.
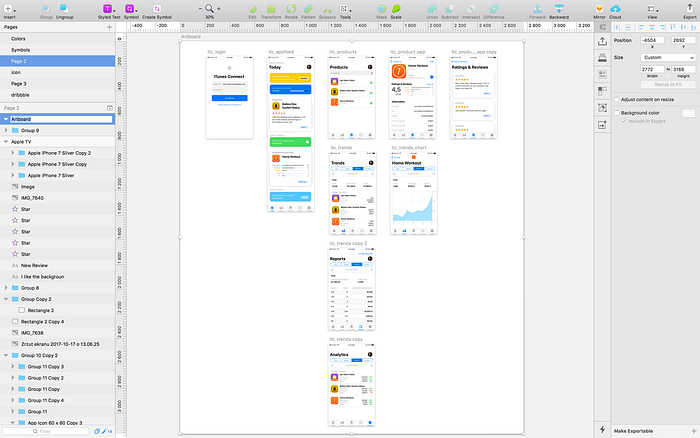
📄 1. Create separate Page for User Flow
To keep things clear it is good to create flow on a separate page. There is, of course, a possibility to make it on the artboards (this method is also described in the next sections).
However, it is good to keep these things separate because you will be able to modify or enhance UI artboards without worrying about ruining your User Flow. If you are involved in a long-term project I really encourage you to do a bit more work at the beginning. It will simply make your future work more efficient.

🍀 2. Think of the UI design process as of the living thing, not separate pages
When you create a screen in Sketch try to order them in a possibly logical way. Let the pages triggered by actions on current mockup will be placed nearby.
Thanks to this you will be able to prepare possible paths even before you start creating separate User Flow. Artboard ordered in logical artboards will create a sketch concept of User Flow.
What’s more, as I was mentioned in the previous section, there is a possibility to create User Flows in Page with mockups — directly on artboards. To do this press [CMD] + [1] to view all of the Page artboards. Surround them with big artboard. Now you are able to start creating connections with arrows, descriptions, and nodes. The main disadvantage of creating flows using existing artboards with screens is that your Page will become a bit messy.
The core idea of this part is that you should distribute mockups or wireframes of your solution in a logical order, so you will be able to create the concept of processes and flows even before creating first User Flow.
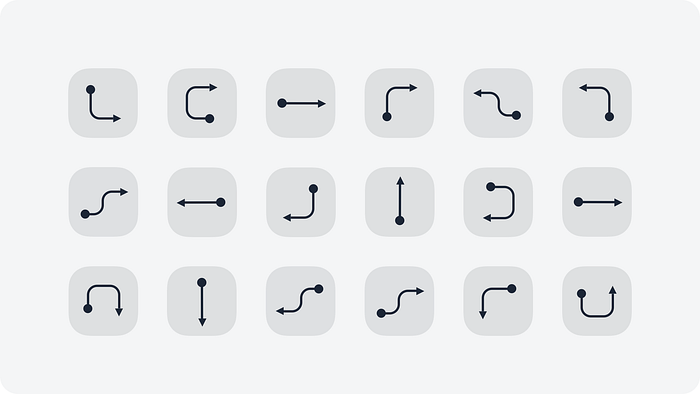
➡️ 3. Make connections between screen (use ones SQUID)
Sketch has got some unique capabilities that give the possibility to create artboards and symbols that may be stretched. Thanks to this designers can use elements that are resizable.
SQUID Template contains 50+ connection types with arrows — resizable and ready to use as symbols.
Creating Flows that is consistent with your brand of project style is important to give a professional look to the deliverable. SQUID is a toolkit that is able to be adjusted to the brand needs in just a couple of clicks.
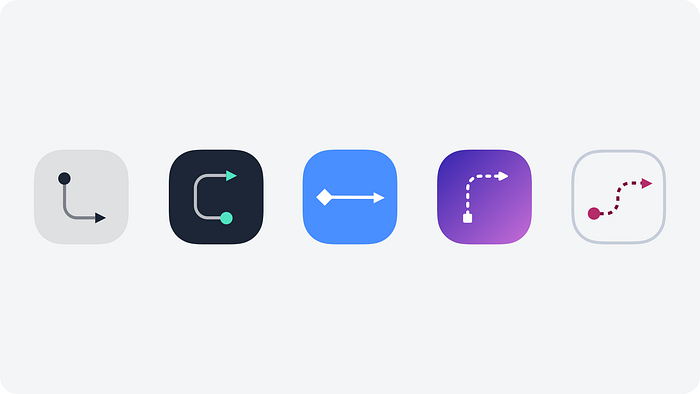
Using stretchable symbols is important because it is natural that pages in flows are distributed over different distances. Some actions need descriptions, some have to lead to the decision nodes that split the particular flow.
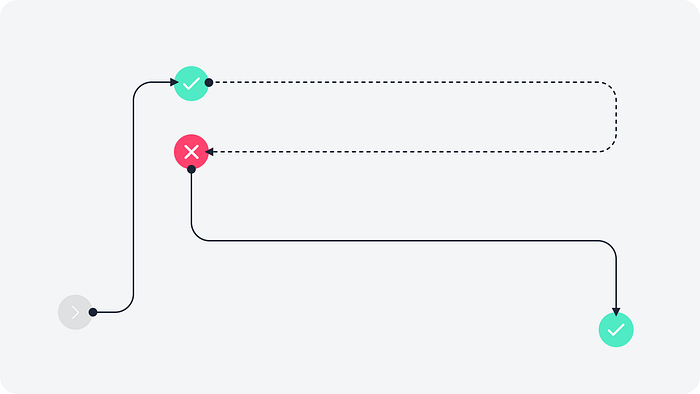
⚠️ 4. Add descriptions and annotations
People are able to get basic data by looking at the arrows pointing to the next page. This is the main advantage of creating and sharing User Flows with the team. However, apps and websites are full of dependencies or alternative actions. Adding annotations will make the User Flow even more understandable.
Thanks to additional descriptions User Flows become the important part of the project documentation.
🔥 5. Show interactions and points from where actions were triggered
In the Post-PC era, we interact with digital products in much more ways than before. We can not only click/tap or scroll the content. We can also swipe, long-press, force-press, rotate or pinch to zoom.
SQUID contains symbols with basic gestures and taps. Thanks to this your User Flows will demonstrate even rich interactions.
You can simply insert needed symbol with interactions from the toolkit. If you do not use the template, you may create own ones.

❓Can I start creating flow without final mockups?
Definitely, yes. You should start creating flows as soon as possible in your project. You can even take photos of your sketches and connect them in Sketch.
If you use SQUID you will find that this toolkit contains over 50 wireframes/UI templates (30 screens for mobile and 20+ for web solutions) to kick-start your work.
Summing up
User Flows are very important deliverables. They help you validate User Journey. You will be able to detect possible pain points and simplify your solution quickly.
Communication with team and clients is even more efficient with flows. No more separate screens, no more randomly ordered mockups. User Flows are the great tool to clarify and simplify cooperation with the team and communication with clients.
For some designers, Sketch may seem not to be the first choice when it comes to making flows. However, it is the ultimate digital design tool and I found it perfect to create lots of deliverables with it. Special features that give ability to create reusable and stretchable elements makes Sketch a great tool to make Flows. It also helps to keep things really simple — you can have many deliverables in one place.
If you will be able to prepare User Flows quickly — your project will move forward successfully.
2 more things…
If you would like to create User Flows faster with SQUID here are things that may interest you:
- If you join the UXMisfits Group on Facebook you will be able to get offer code with 5% discount.
- If you really would like to get even better discount. There is a special offer for UXMisfit.com Subscribers. For everyone who joins UXMisfit.com Newsletter there is a 15% discount.
If you enjoyed the Story do not forget to 👏👏👏.

