How to make a screen-by-screen prototype in Swift
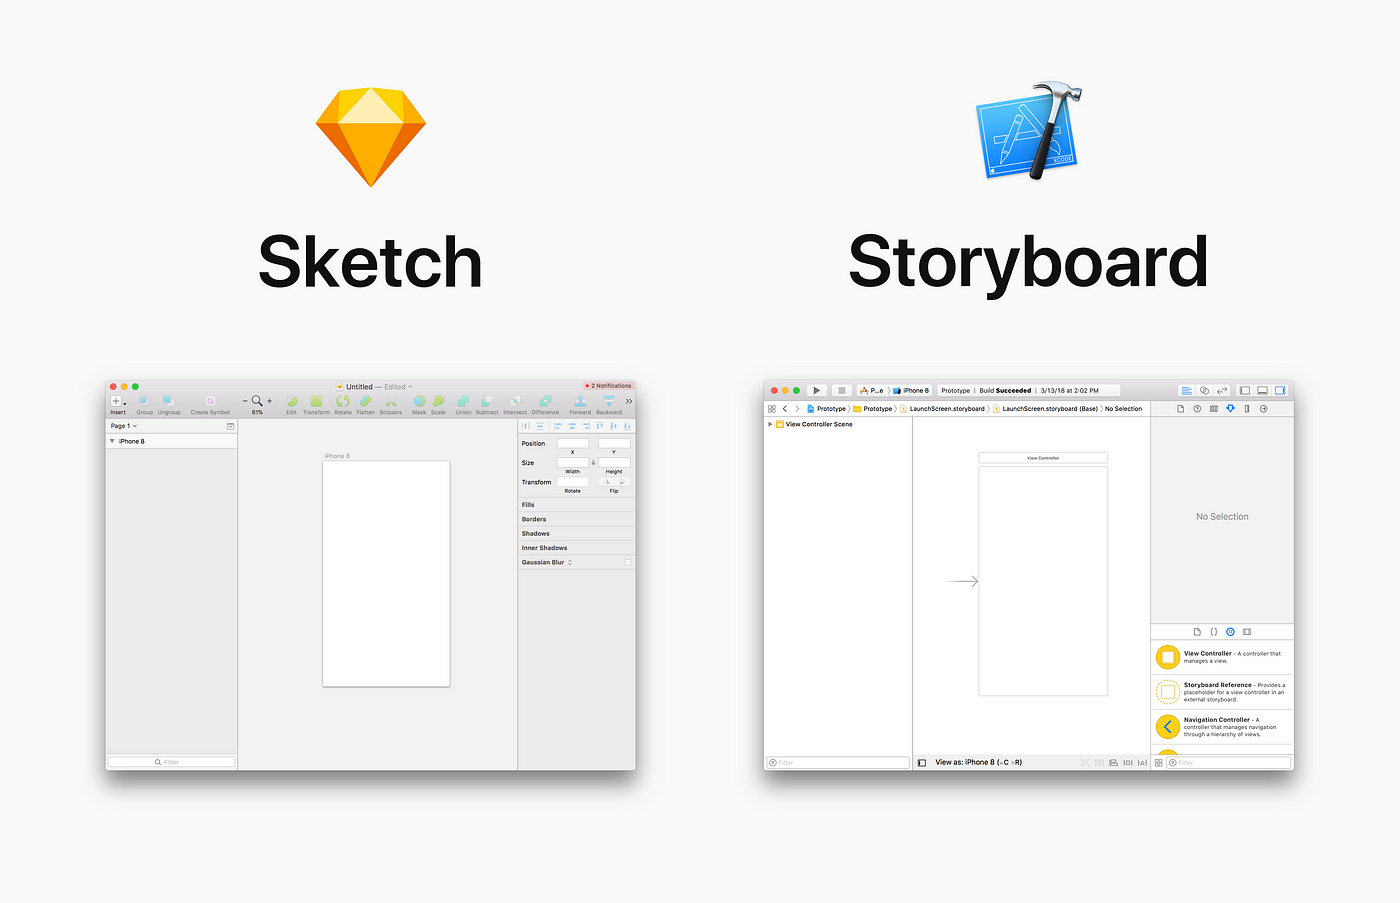
Ever wish you could export your screens from Sketch into XCode?

Creating a prototype in Swift is not as hard as you think. A lot of people get intimidated by XCode’s interface because of its huge amount of buttons and options, but I’ve got good news for you: You can create a prototype without writing any code.
I’ll be giving you a step-by-step guide on how you can create a basic prototype using Swift’s Storyboard. You’ll see that storyboards actually look similar to the design tools we use.
What you’ll need
This prototype will be just like the ones made in inVision. We’re gonna add in our screens and place hotspots that link to other screens. All you’re gonna need is XCode and your screens as image files. If you don’t have screens to work on, you can download the ones I’ll be using.
Tip: Have your screens named name@1x, name@2x, name@3x so that XCode can automatically process them.
1. Creating a project
When you open XCode, you should see a screen like this (without all the projects on the side). Let’s click on Create a new XCode project.

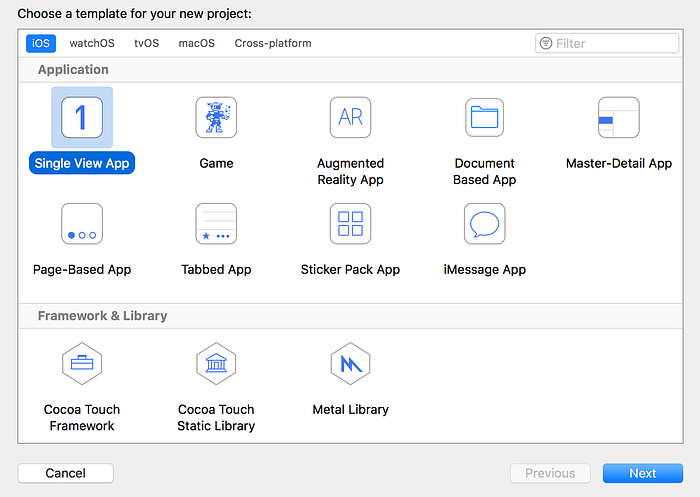
You’ll see a bunch of options here, but don’t worry about them. Single View App is the most widely used and can accommodate almost any app. Note that single view doesn’t mean it only handles one screen (which is what I thought at first).
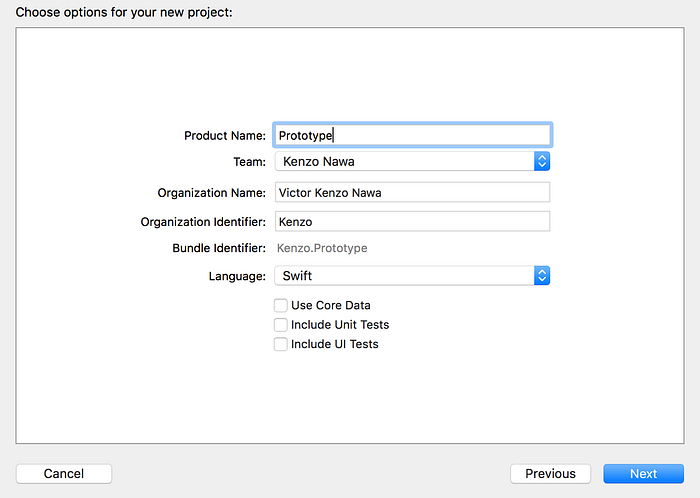
You can name your project anything. For this example, I’ll be naming it Prototype.
Don’t be overwhelmed
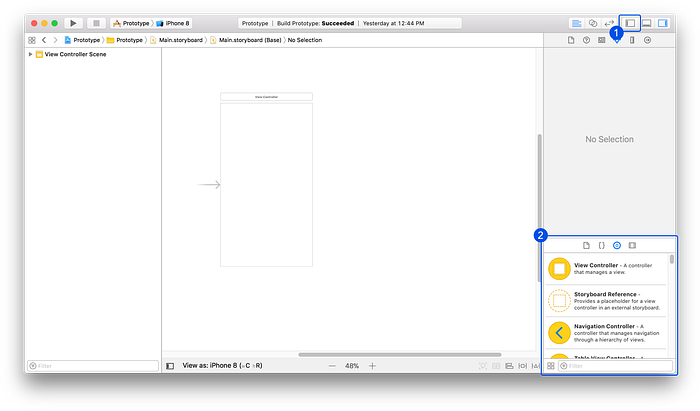
When you create the project, this is the first screen you’re gonna see
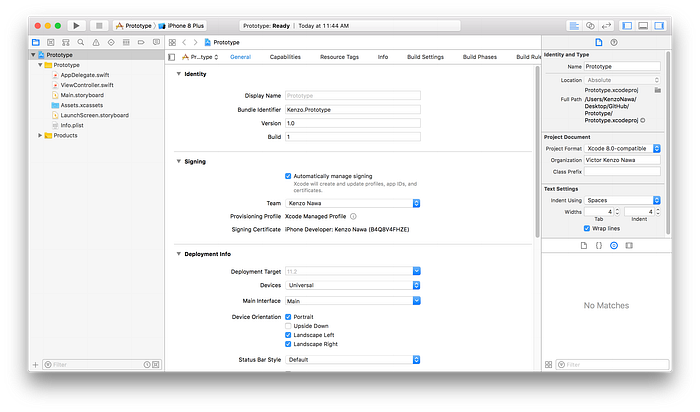
Here’s what I want you to see
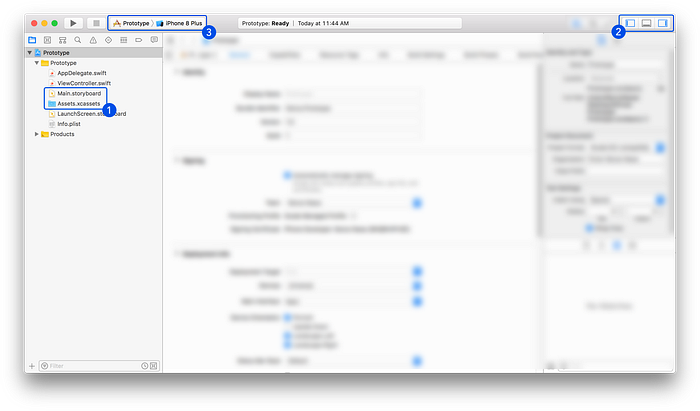
- These are the only two files we’ll be working with.
- You’re probably familiar with this layout. The left panel shows document hierarchy and the right shows more information.
- This is where you choose on which device you want to run your app.

Let’s switch to iPhone 8 because that’s the default screen size on the Storyboard.
2. Importing your screens from Sketch
Click on Assets.xcassets and drag your images files
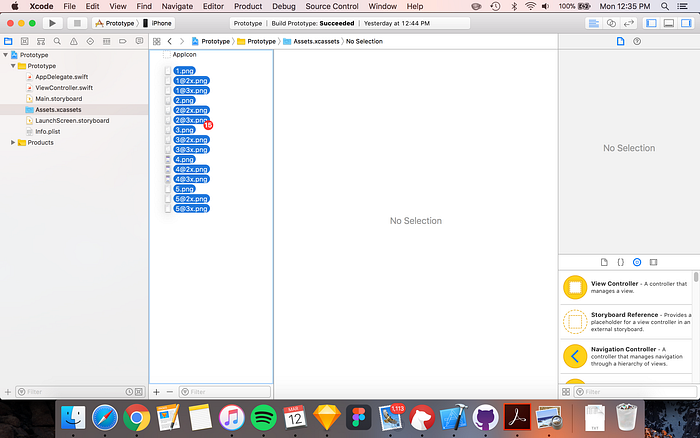
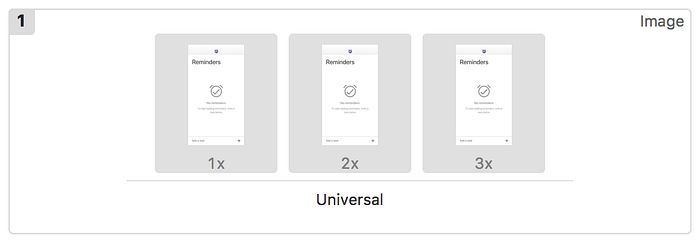
Once they’re imported, you should see that XCode automatically groups them by resolution type.
Now let’s move on to the Storyboard!
Storyboards
Here’s what it looks like
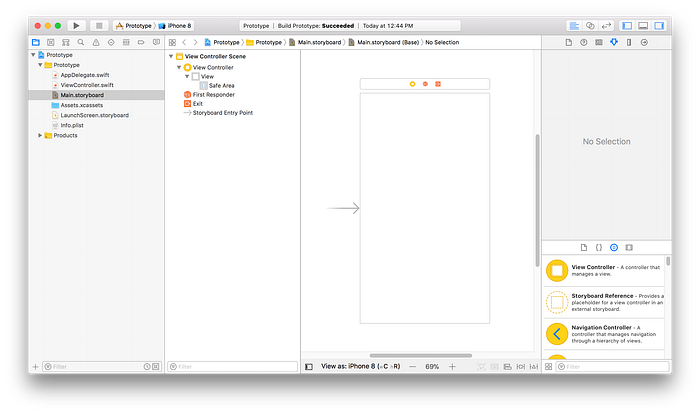
You can hide the left panel because we won’t be navigating our project anymore.
- Close the left panel
- The Object Library — This is where we add elements to our View Controller.
What’s a View Controller?
In storyboards, you can think of view controllers as artboards in Sketch. If you have 5 different screens, you’re gonna have 5 different view controllers.
If you get into coding, however, view controllers are much more than that. They are the ones that handle all the logic for a given screen.
3. Adding a screen
Search for “Image” in the Object library. You should see Image View as the only result. Let’s drag it from the library to inside the view controller. You should see your image somewhere inside the view controller.
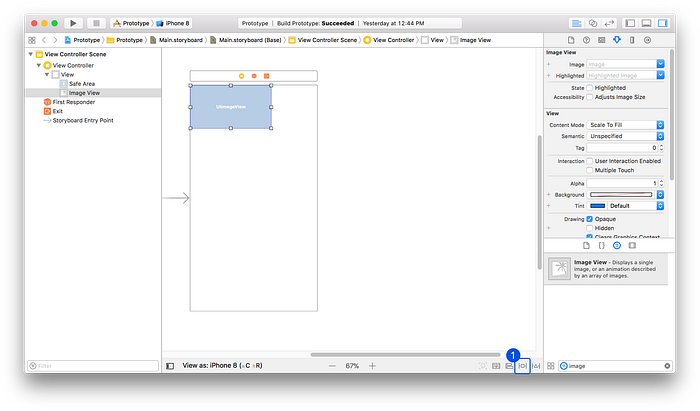
- Constraints — This is where you add your Auto Layout constraints, so that your app is responsive.
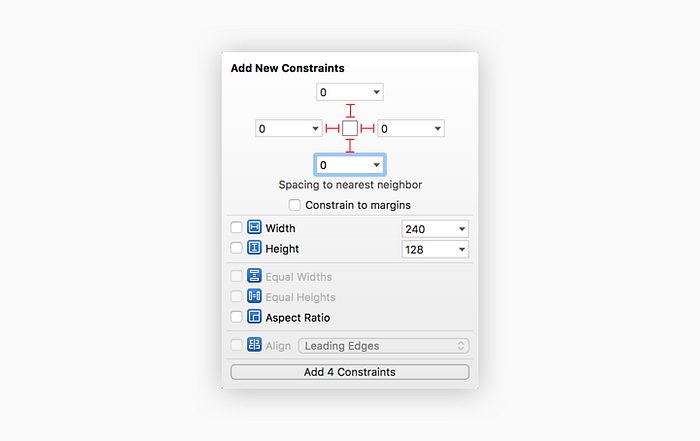
Let’s can click on the Add New Constraints and add 0’s to the top, bottom, leading(left) and trailing(right) constraints.
Auto Layout
Auto Layout works by specifying how far your chosen element should be from another element. XCode automatically detects the other element given the visual layout. So in this example, we are saying this image should be 0 pts apart from the edges of the screen.
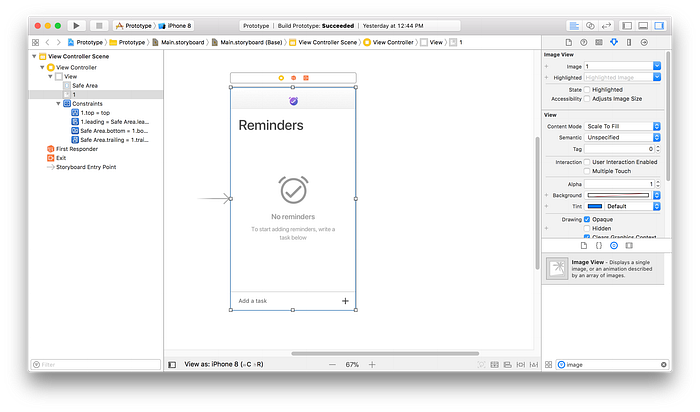
4. Selecting the image
On the right panel, make sure you’re in the Attributes Inspector(it should be the default) and choose your screen from the Image dropdown.
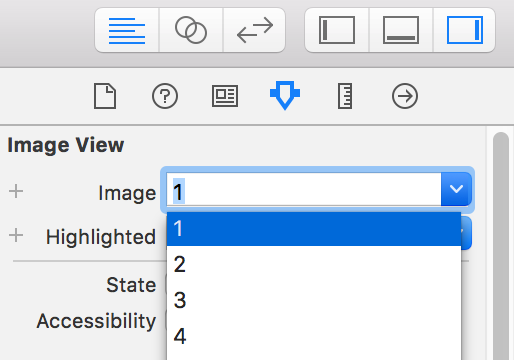
You should now see your first screen!
5. Creating hotspots
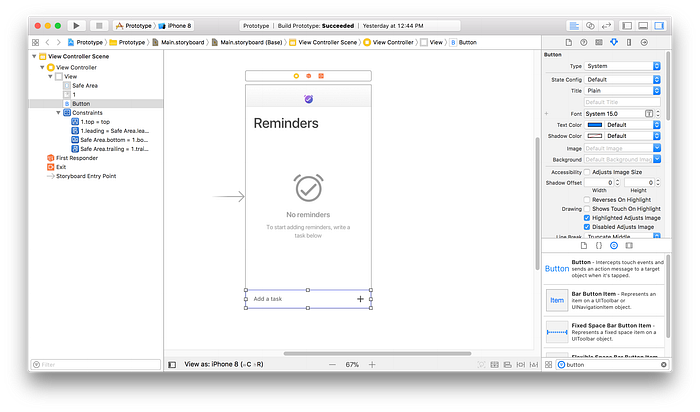
We’re gonna be creating hotspots with invisible buttons. Back in the Object Library, search for “button”.
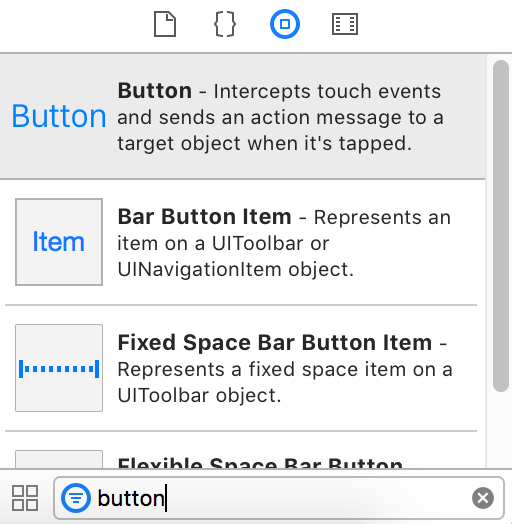
Drag it into wherever you want your hotspot to be and then resize it as you wish. Also, double click on it and delete the text, we don’t need that.
6. Creating another screen
To add another screen, we just need to drag and drop a View Controller from the Object library.
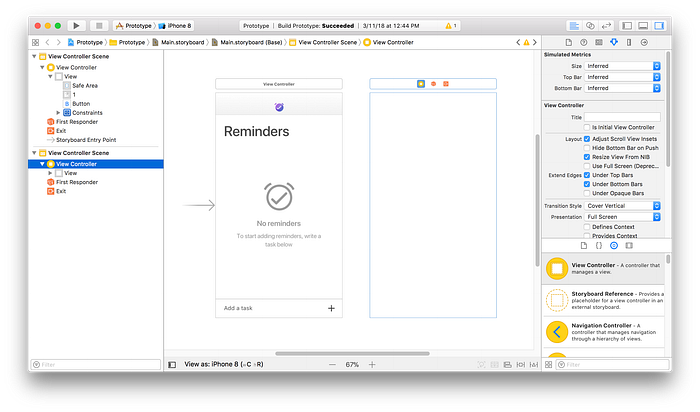
From here, let’s repeat steps 3- Adding a screen and 4- Selecting the image for our second screen.
7. Making the transition
To make a transition from the hotspot to another screen, click and drag with your right mouse button from the invisible button to the destination screen.
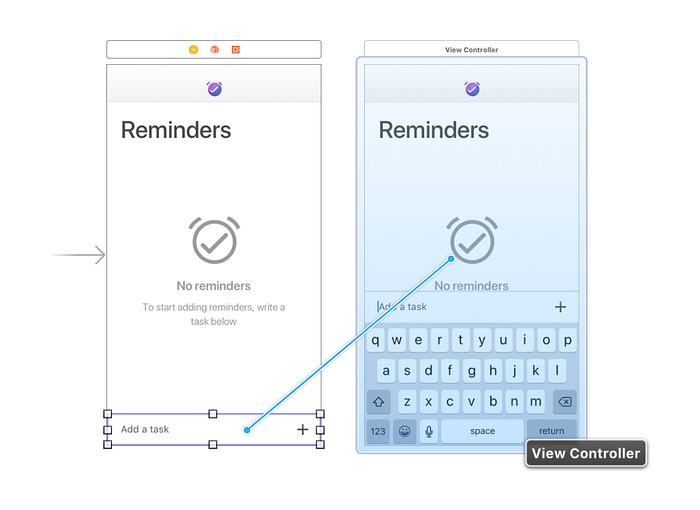
When you let go, choose Present Modally as your option.
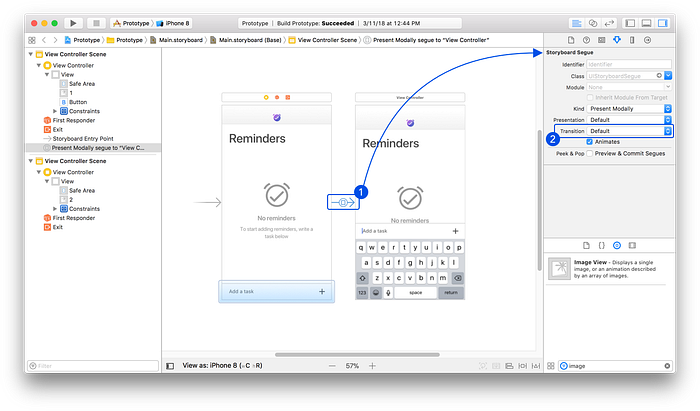
- Segue — Segues are the name Swift has for screen transitions. You should now see a connection between your two screens and be able to see its attributes.
- Transition — Storyboards don’t have the fanciest built-in transition animations. The one I recommend is Cross Dissolve.
8. Rinse and Repeat
Now you know how to create screens and make connections between them! Just repeat the steps until you have your entire flow.
At this point, feel free to run your project on the simulator. It should be working!
That’s it!
This was a basic prototype, but I hope you’re a bit more familiar with XCode and Swift now. I’d never thought of Swift as a prototyping tool, but I accidentally got the hang of it when I was building an app for myself, and realized that it’s much easier than I expected.
I think prototyping in Swift has a lot of unspoken benefits. Next time, I’ll show you a prototype that was only made possible with Swift (hint: it uses maps).
If you liked this guide and would like to learn other stuff with Swift, let me know in the comments!