Basic Navigation with Sketch and Invision’s Craft Prototype Plugin
How to set up a simple menu in Sketch for your click-through Invision prototypes.

Invision’s fantastic Craft plugin for Sketch has introduced a new feature called Prototype, that lets you build interactions inside Sketch, instead of having to export to Invision first.
This should reduce repeated effort and speed up your workflow. I made this basic tutorial to help me learn how it works and figure out its quirks. It’s a new feature so expect constant improvement!
Downloadable Content
Getting Started
Make sure you are up-to-date
This can be slightly confusing, but you need to make sure you have the latest Craft Manager application updated, as well as the latest Craft plugin. To check, open Craft Manager, click the cog, and check for updates. Then make sure the Craft plugin itself is up-to-date as well.


Activate Prototype
To toggle Prototype on or off, click the blue lightening bolt at the bottom corner of the Craft plugin panel. (You may have to turn on the panel by going to Craft > Toggle Panel in Sketch’s menu).

Linking Artboards
To make a click-through, turn on Prototype, select the layer you want to be the hotspot link, press “c” on your keyboard, and select the Artboard you want to link to.

If you link a layer to its containing Artboard, you will get the option to scroll to a particular point on that artboard. This is for jump-links on large artboards, like one-pager websites for example.


If you link to a different Artboard, you will get the option to Link to a screen or Link as Overlay, as well as some of the gesture options for Desktop and Mobile that Invision gives you.


You can also make Link back/Close links, and link to External URLs.

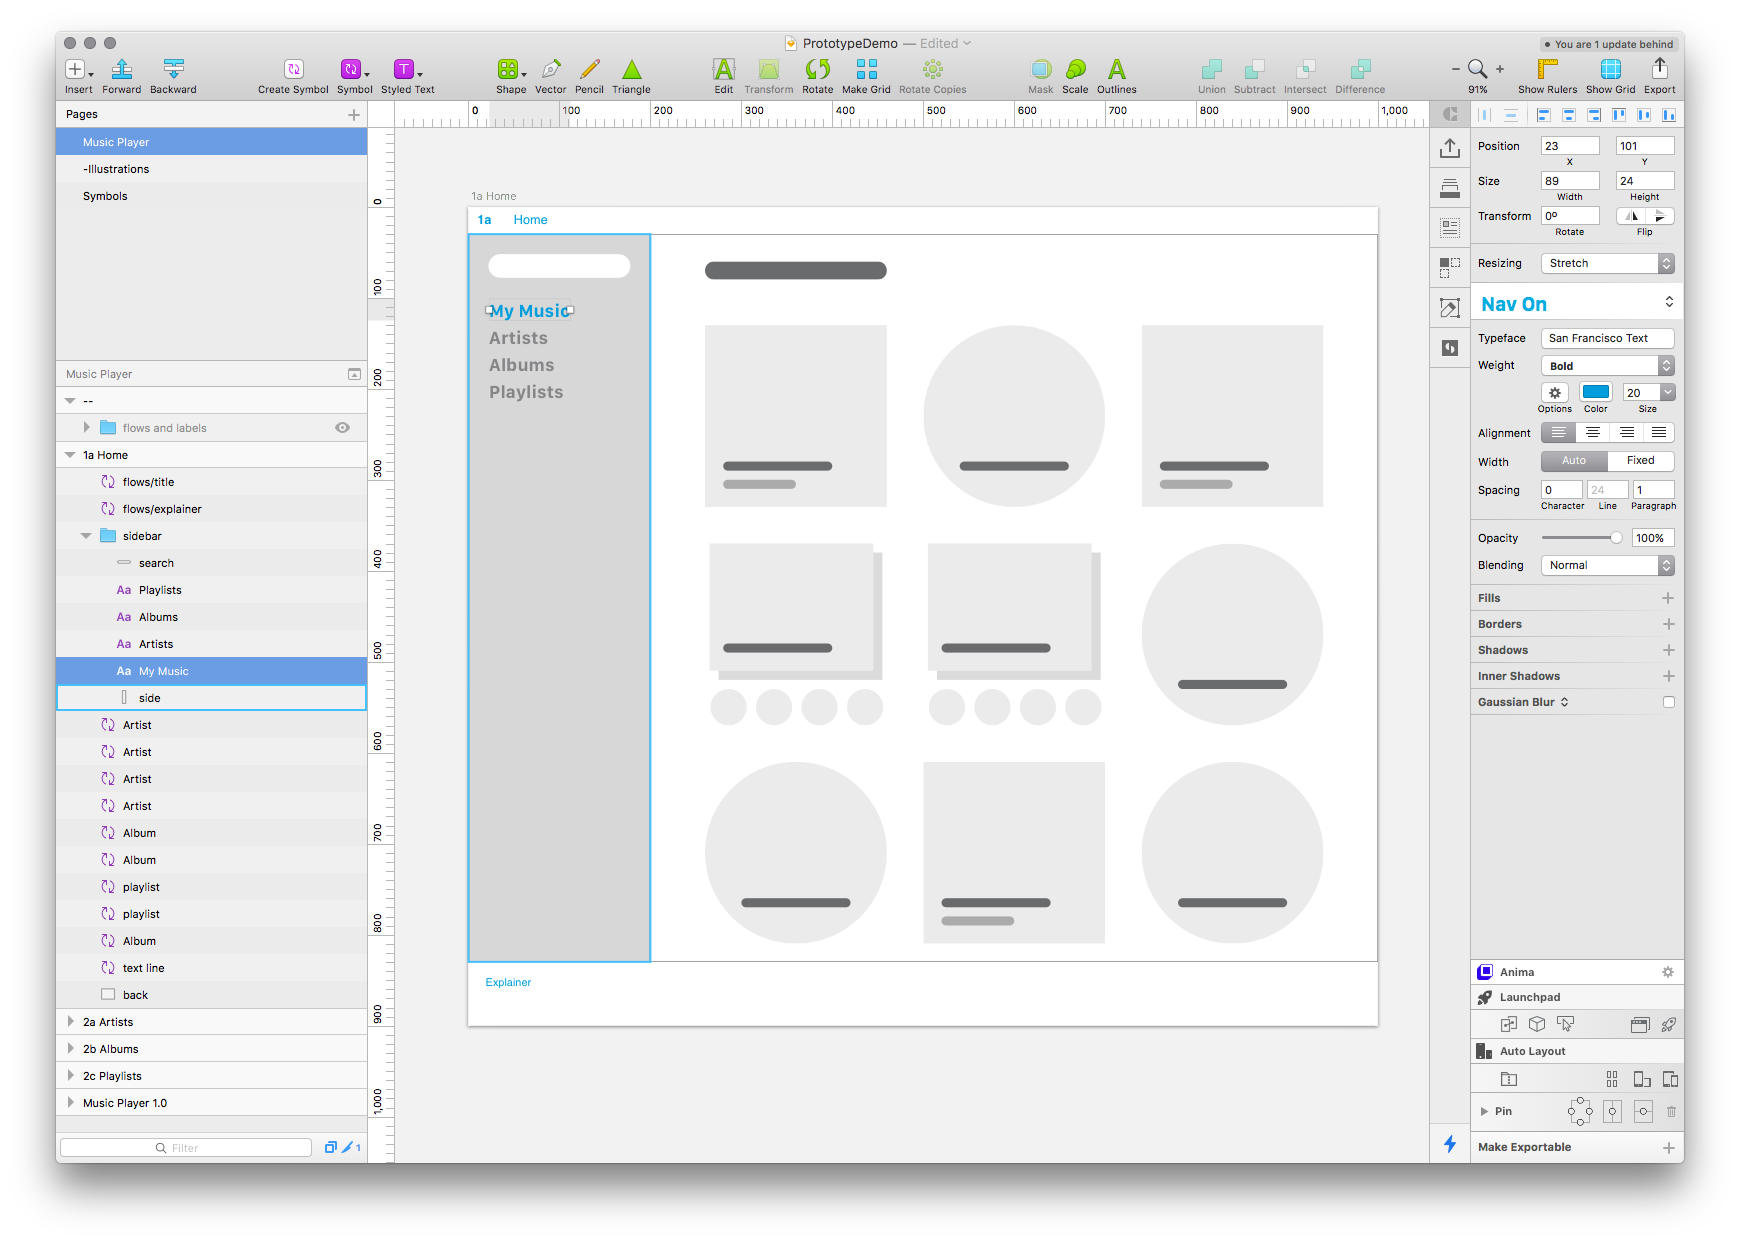
Making the Menu
Our menu is very basic. We have four screens, and we will click between them in our Invision prototype. I’m using text elements for the labels, and have a style for on and off states.
First we select the second label, Artists, and link it to the corresponding Artboard for that menu item. We’ll leave the options as default, as this is a simple click through.

We then repeat for the third and fourth screens.

Now we copy the labels, and paste them into the second Artboard:

The links will be transferred as well so we don’t need to duplicate them! Links to a containing Artboard will be copied too.
Next we need to link the first menu item back to the first Artboard:

…and change the text styles on the menu so it looks like the second menu item is highlighted:

Next, copy the four layers from this artboard with our links onto Artboards three and four. Again, the links are transferred as well, so all we need to do is change the text style.
And that’s it!
Notes:
If you select an Artboard, you will only see the links that go to that Artboard, and the links that originate from that Artboard. If you have no Artboards selected, Prototype will show you every connection between all the Artboards.


Publishing

Prototype only works with Craft Sync, so you will need to open Sync, and create a new prototype to export to and update.
Hotspots
You can also make hotspots if you prefer, by using rectangles with zero opacity. One issue I found with this approach is that if a hotspot link points to an Artboard, and you paste the hotspot into that same Artboard, then the link disappears (but I may have been doing something wrong).

Demo
Here’s the Invision Prototype, and links to the working sketch file on Dropbox.
Feedback welcome!
I hope this was a useful post, as always you can find me on twitter https://twitter.com/irishstu for any questions or feedback!